What is the Terrain Like in Volcanoes National Park?
March 28, 2025Is It Possible to Go Birdwatching in Volcanoes National Park?
March 28, 2025
What Are the Best Camera Settings for Wildlife Photography in Volcanoes National Park?
What Are the Best Camera Settings for Wildlife Photography in Volcanoes National Park? Wildlife photography in Volcanoes National Park, home to the majestic mountain gorillas, golden monkeys, and diverse bird species, offers a once-in-a-lifetime opportunity to capture the raw beauty of nature. The park’s varied landscapes and biodiversity present photographers with unique challenges and incredible moments. However, capturing these moments on camera requires the right settings to ensure clarity, detail, and emotional impact in your shots. Whether you are an amateur photographer or a seasoned professional, understanding the best camera settings for wildlife photography in Volcanoes National Park is crucial. In this article, we will break down essential camera settings and tips that can help you create stunning wildlife photographs in this iconic destination.
Choosing the Right Camera Mode: Aperture Priority vs. Shutter Priority
The first decision you will need to make when preparing for wildlife photography in Volcanoes National Park is selecting the right camera mode. The most common modes for wildlife photography are Aperture Priority (A or Av) and Shutter Priority (S or Tv). Both offer flexibility and control over your exposure settings, which are crucial when capturing fast-moving animals or the varied lighting conditions in the park.
Aperture Priority allows you to control the depth of field, which is essential for isolating your subject from the background. By selecting a wide aperture (small f-number), you can achieve a shallow depth of field, ensuring that your subject, such as a mountain gorilla or golden monkey, stands out against a beautifully blurred background. A wider aperture also lets in more light, which is important when photographing in low-light conditions like early mornings or late afternoons. A typical aperture setting for wildlife photography in Volcanoes National Park is f/4 to f/5.6.
Alternatively, Shutter Priority is great for capturing fast-moving animals. The park’s gorillas, for example, may move quickly through dense forests, and you’ll want a fast enough shutter speed to freeze the motion. A good starting point is 1/500 or faster, but this can be adjusted based on the speed of the subject and the available light.
Choosing the Right Shutter Speed: Freezing Action and Avoiding Motion Blur
Shutter speed plays a critical role in wildlife photography, especially when you’re trying to capture fast movements or create specific effects like motion blur. In Volcanoes National Park, animals like gorillas and golden monkeys may move through dense vegetation or even leap across trees, making fast shutter speeds necessary to capture their movement sharply.
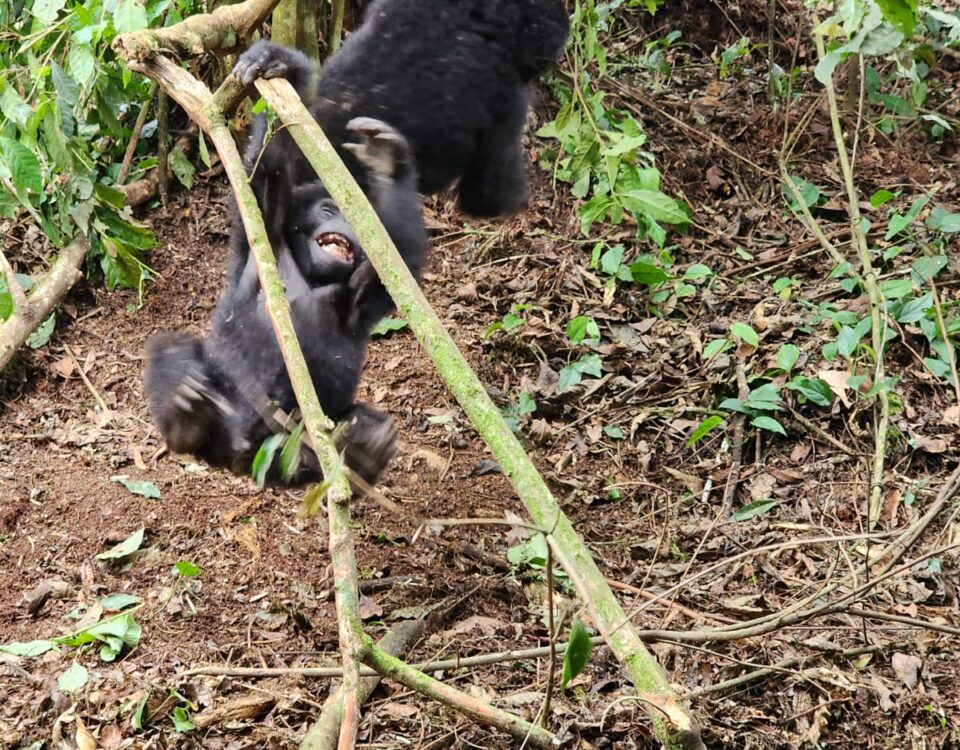
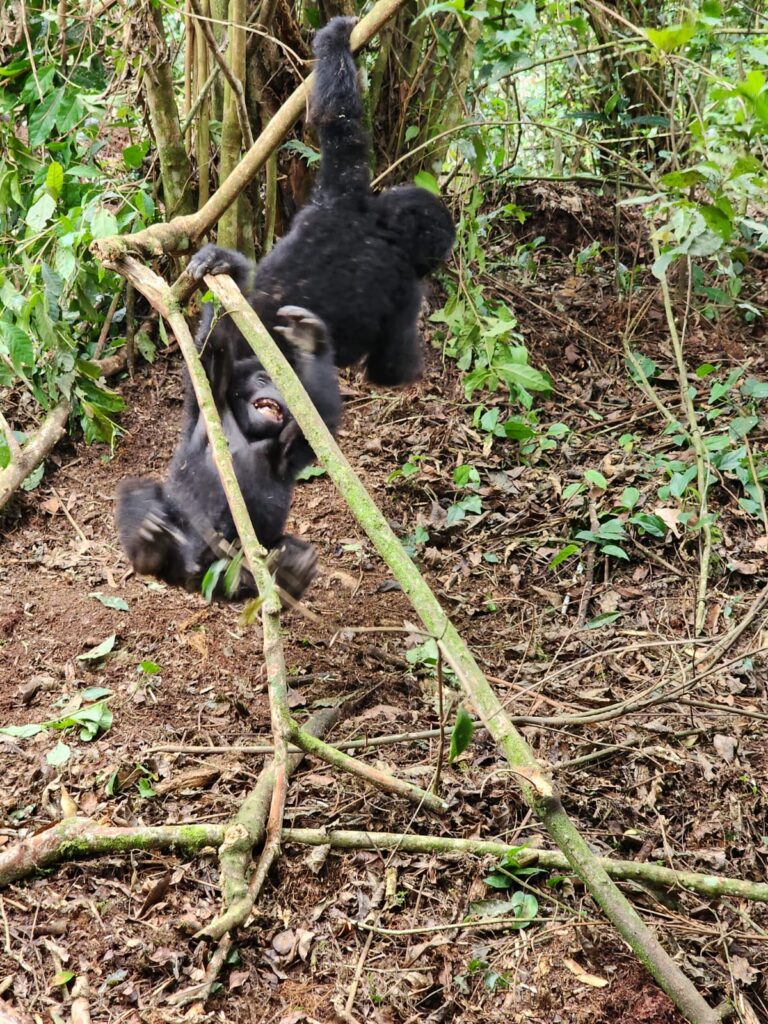
As a rule of thumb, 1/500 sec is a good starting point for fast-moving animals like the golden monkeys, which are highly active and agile in the park’s bamboo forests. If the animals are moving even faster or if you want to freeze fast motion like a gorilla reaching out for food, you may want to go as high as 1/1000 sec or faster.
However, if you wish to capture movement in a more artistic way—such as a soft blur of the gorilla’s hand reaching out—you can use a slower shutter speed (e.g., 1/250 sec). This effect can add dynamism to your photographs while still keeping the subject recognizable. Adjusting your shutter speed based on your subject’s activity is essential for achieving the best results in wildlife photography.
ISO Settings: Balancing Light and Noise
The lighting conditions in Volcanoes National Park can vary greatly throughout the day. Early mornings and late afternoons may have soft, diffused light, while midday can bring harsher sunlight. The park’s dense forests and misty weather can also create challenging lighting conditions that require careful handling of your ISO settings.
To avoid too much noise (graininess) in your photos, it’s important to strike a balance between exposure and noise levels. Start by setting your ISO to 400 to 800 for morning and evening shoots. This range allows you to gather enough light without introducing too much noise into your image. If you’re shooting during midday, you can lower your ISO to around 200 to avoid overexposing your shots.
In low-light conditions, such as dense forests or on overcast days, you may need to increase your ISO to 1600 or higher, but be cautious. While modern cameras handle noise much better at higher ISOs, there’s still a limit. Consider using noise-reduction software in post-processing if you need to increase your ISO to get a properly exposed shot.
Focusing Techniques: Autofocus vs. Manual Focus
Wildlife photography often involves unpredictable subjects, and quick focusing is essential to capture fleeting moments. Most professional cameras today come with sophisticated autofocus (AF) systems that can track moving subjects, and these are particularly helpful when photographing animals in motion.
In continuous autofocus mode (AI Servo or AF-C), the camera constantly adjusts the focus as your subject moves. This is essential when photographing mountain gorillas or golden monkeys, as they move in and out of your frame in dense environments. For wildlife photography in Volcanoes National Park, it’s important to choose a single autofocus point or group focus mode to ensure you focus on your subject without interference from surrounding foliage.
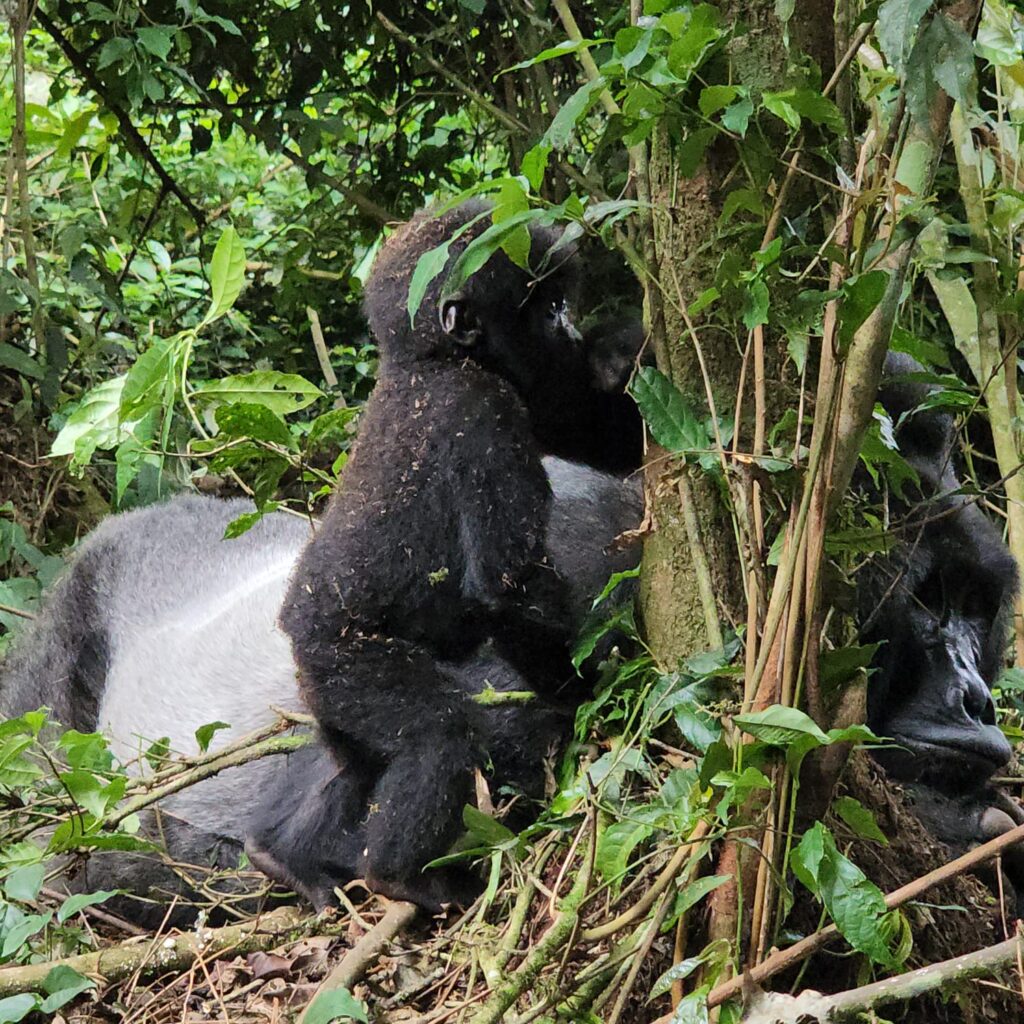
However, there are times when you might prefer manual focus, particularly when photographing animals that are stationary or in low-light conditions where autofocus may struggle. For example, if you’re capturing a mountain gorilla sitting on a misty hill, manual focus can help you achieve sharper results. Additionally, in dense forests, autofocus systems can sometimes lock onto nearby branches, so manually adjusting the focus can give you more control over the composition.
Use of Telephoto Lens: Getting Close Without Disturbing the Wildlife
When photographing wildlife, especially in Volcanoes National Park, using a telephoto lens is essential. A lens in the 200mm to 400mm range allows you to get close to your subject without disturbing them. Gorillas, for instance, are known to be curious and may approach trekkers, but it’s important to respect their space and avoid getting too close. A telephoto lens allows you to capture intimate, detailed shots while keeping a safe distance.
If you’re focusing on smaller animals or birds, a longer focal length lens (e.g., 500mm or more) will be required. Additionally, these lenses often come with image stabilization (IS or VR), which helps in reducing camera shake, especially when shooting at longer distances.
Telephoto lenses can also provide a beautiful bokeh effect (background blur), allowing your subject to stand out sharply against a soft, blurred backdrop of the park’s forest or mountains. This is particularly useful in wildlife photography, where you want the animal to be the focal point of the image.
Capturing Cultural Elements: Combining Wildlife with Human Interaction
While the primary focus of photography in Volcanoes National Park is undoubtedly the wildlife, there are also cultural elements that can be integrated into your shots to enrich your storytelling. The local Batwa people, indigenous communities that once lived in the forest, offer cultural experiences that are often combined with gorilla trekking tours.
To capture the essence of the Batwa’s traditional dance, crafts, and way of life, consider using a wide aperture to focus on the people while creating a blurred, contextual background. For these cultural shots, a faster shutter speed is crucial to avoid motion blur during dances or movement, and you might need to adjust your ISO depending on the lighting conditions.
Final Tips: General Best Practices for Wildlife Photography in Volcanoes National Park
Shoot in RAW format: This gives you more flexibility during post-processing, allowing you to adjust exposure and details without losing quality.
Use a tripod or monopod: Especially with longer lenses, this will reduce camera shake and provide more stability, especially when shooting from a distance.
Be patient and observant: Wildlife is unpredictable, and the best moments often come when you least expect them. Take your time to observe animal behavior and anticipate the right moment to press the shutter.
Respect wildlife and the environment: Maintain a safe distance from the animals, and follow all park guidelines to ensure that your photography does not disturb their natural behavior.
Conclusion: Perfecting Your Shots in Volcanoes National Park
Wildlife photography in Volcanoes National Park offers an incredible opportunity to capture the beauty and majesty of Africa’s most endangered species. By using the right camera settings—such as aperture priority, fast shutter speeds, and appropriate ISO—you can ensure that your shots are both technically sound and artistically captivating. Additionally, integrating the cultural experiences available in the park will help enrich your storytelling, allowing you to capture not just the animals, but also the people and landscapes that make this destination so special. Whether you are photographing gorillas, golden monkeys, or the rich cultural heritage of the Batwa, proper camera settings and techniques will help you create lasting memories of your time in this remarkable park.